Events
Each event is a completely independent seating plan with its own tables and guest list. You might have one event for a wedding reception, another for a rehearsal dinner, and a third for a corporate gala — all managed separately in the same account.
Creating an event
When you open the app for the first time, a default event is created automatically. To add more events, click the Add Event button in the sidebar or header. You will be prompted to name the event.
- Click Add Event in the sidebar.
- Type a name for the event (e.g., "Wedding Reception", "Birthday Dinner", "Table 50 Gala").
- Press Enter or click Create. The new event becomes the active event.
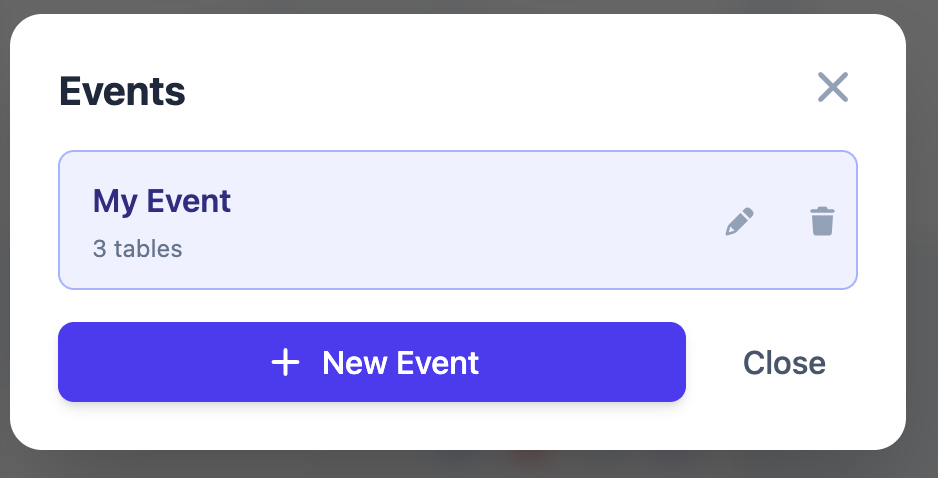
Free tier limit: Guests (not signed in) can create 1 event only. Sign in for a free account to create unlimited events.
The current event
Only one event is active at a time — this is called the current event. All table and guest operations (adding, editing, drag-and-drop seating) apply to the current event. The current event name is displayed prominently in the header.
Switching events does not lose any data. Each event's tables, seats, and guests are stored independently and remain intact when you switch away.
Switching between events
Click the event name or the dropdown arrow in the header to open the event switcher. All your events are listed there. Click any event to make it the current event.
Renaming an event
To rename the current event, click the pencil icon next to the event name in the header. Type the new name and press Enter to save. Renaming an event does not affect the shared link if one has already been generated — the share page will reflect the updated name automatically.
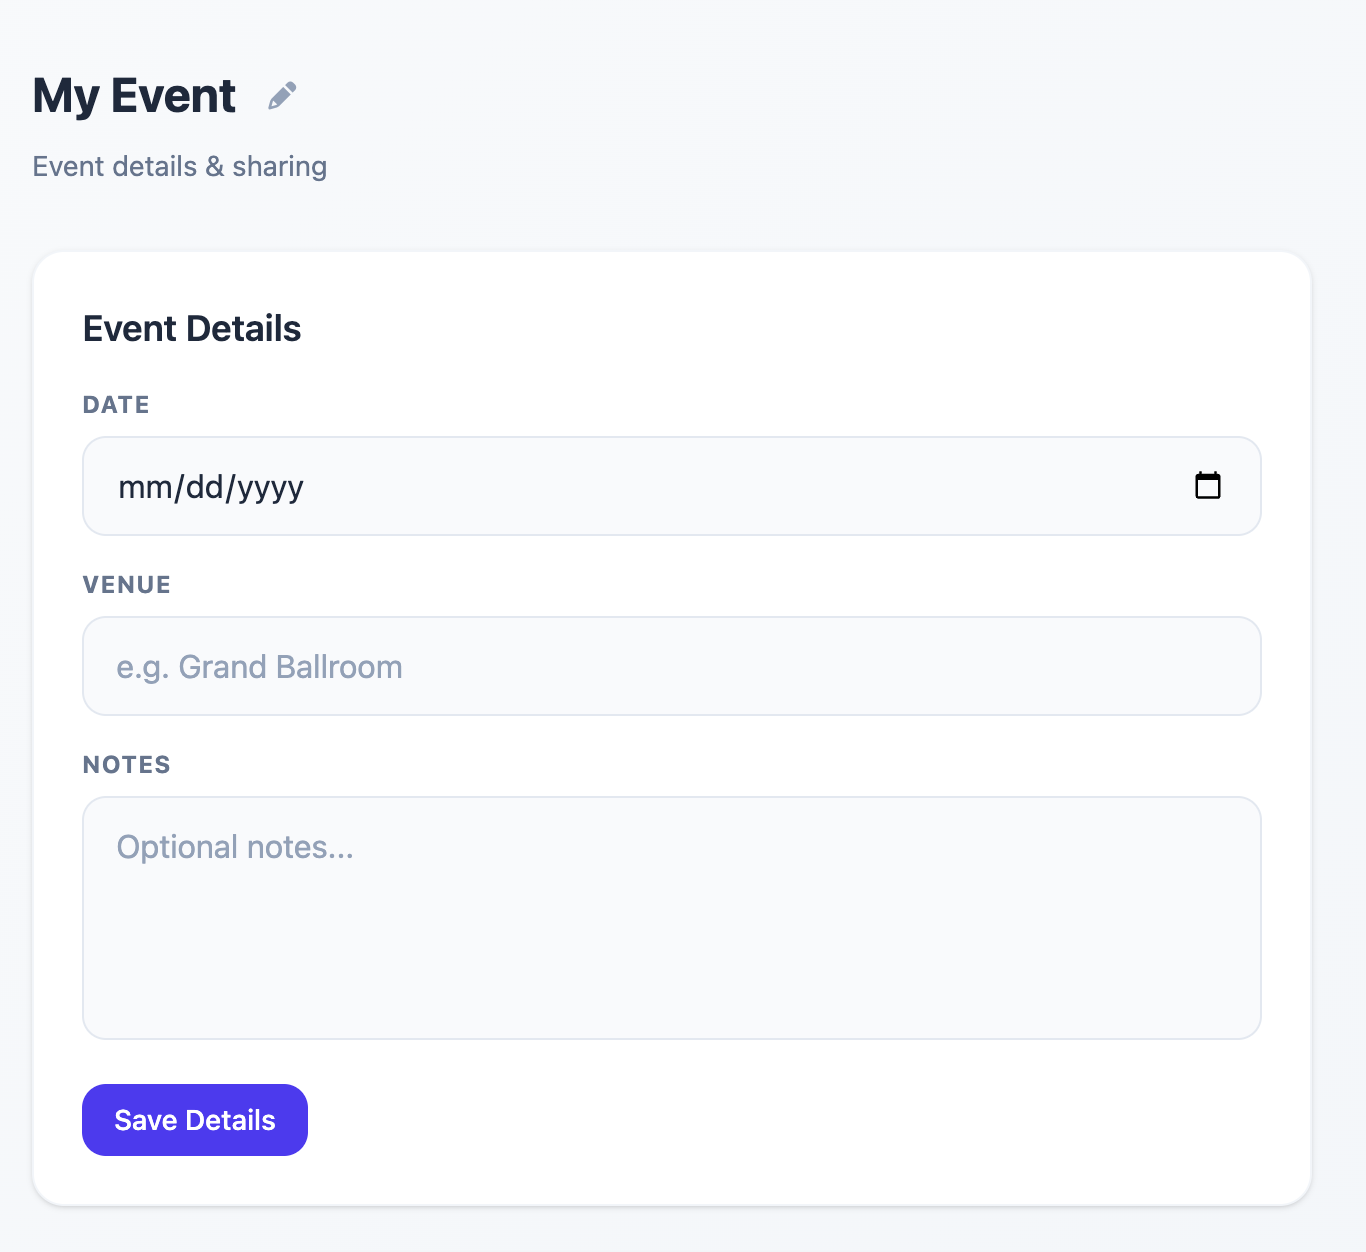
Event details
Each event has an optional details page where you can record additional context. Access it via the link or info icon next to the event name in the header.
Details you can set:
- Event date — Displayed on the public share page so guests know when the event is.
- Venue — Location name or address, also shown on the share page.
- Notes — Internal notes for yourself (not shown on the share page).
Event limits by plan
| Plan | Max events | Max tables per event |
|---|---|---|
| Guest (not signed in) | 1 | 3 |
| Free (signed in) | Unlimited | 7 |
| Per-event purchase ($20) | Unlimited | Unlimited (for purchased event) |
| Premium ($30/mo or $199/yr) | Unlimited | Unlimited |
See Premium & Billing for full details on upgrading.
Common questions
Can I delete an event?
Yes. Open the event details page and use the delete option at the bottom. Deleting an event permanently removes all its tables, guests, and seat assignments. This cannot be undone.
If I switch events, do I lose my current work?
No. All changes are saved automatically as you work. Switching to a different event and switching back will show your work exactly as you left it.
Can I copy an event?
Copying an event is not currently supported. If you need a similar layout for a second event, create a new event and manually recreate the tables. You can use bulk import to quickly re-add your guest list.