Why a seating chart matters
A good chart does more than tell people where to sit — it sets the mood for the whole reception. Put guests near people they know or get along with, and they have a noticeably better time. Stick someone in an awkward spot and they notice. So do you.
There's a practical side too: your venue and caterer use the chart for meal counts and covers. Get it right early and you avoid a lot of scrambling on the day.
Step 1 — Your guest list (and why you can start early)
Usually you're told to lock in your final guest count before touching a seating chart. Wait for RSVPs. Chase stragglers. Only then start assigning seats — otherwise you'll redo everything when the list changes. With a static chart or a printed diagram, that made sense.
Keep a running list as responses come in: full names (not "John + guest"), which kids are coming and ages, and any tensions you know about. Drop that list into the app whenever you're ready and adjust as you go.
Step 2 — Get your venue floor plan
Ask your venue for a floor plan with the table layout. Most have a standard setup but will adjust for your numbers. You need: how many tables, how many seats each holds, and where the head table, dance floor, bar, and entrance are. It helps to know which tables are near exits too — for anyone who might need to leave early.
Round tables usually seat 8–10; banquet tables more. Confirm exact capacity with the venue. You don't want to assign 10 people to a table that only fits 8.
Step 3 — Set up your tables
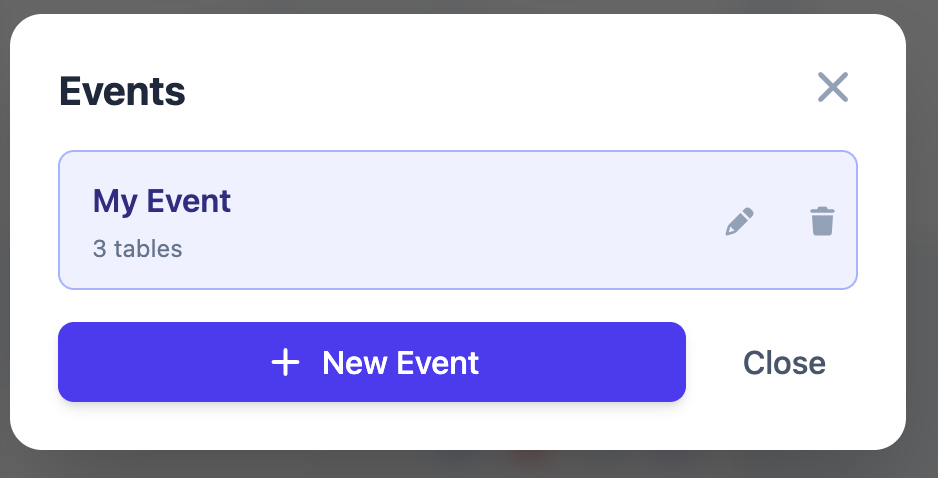
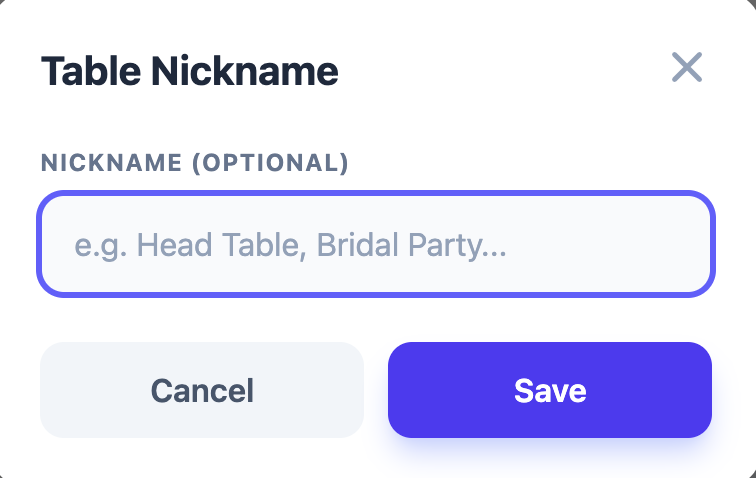
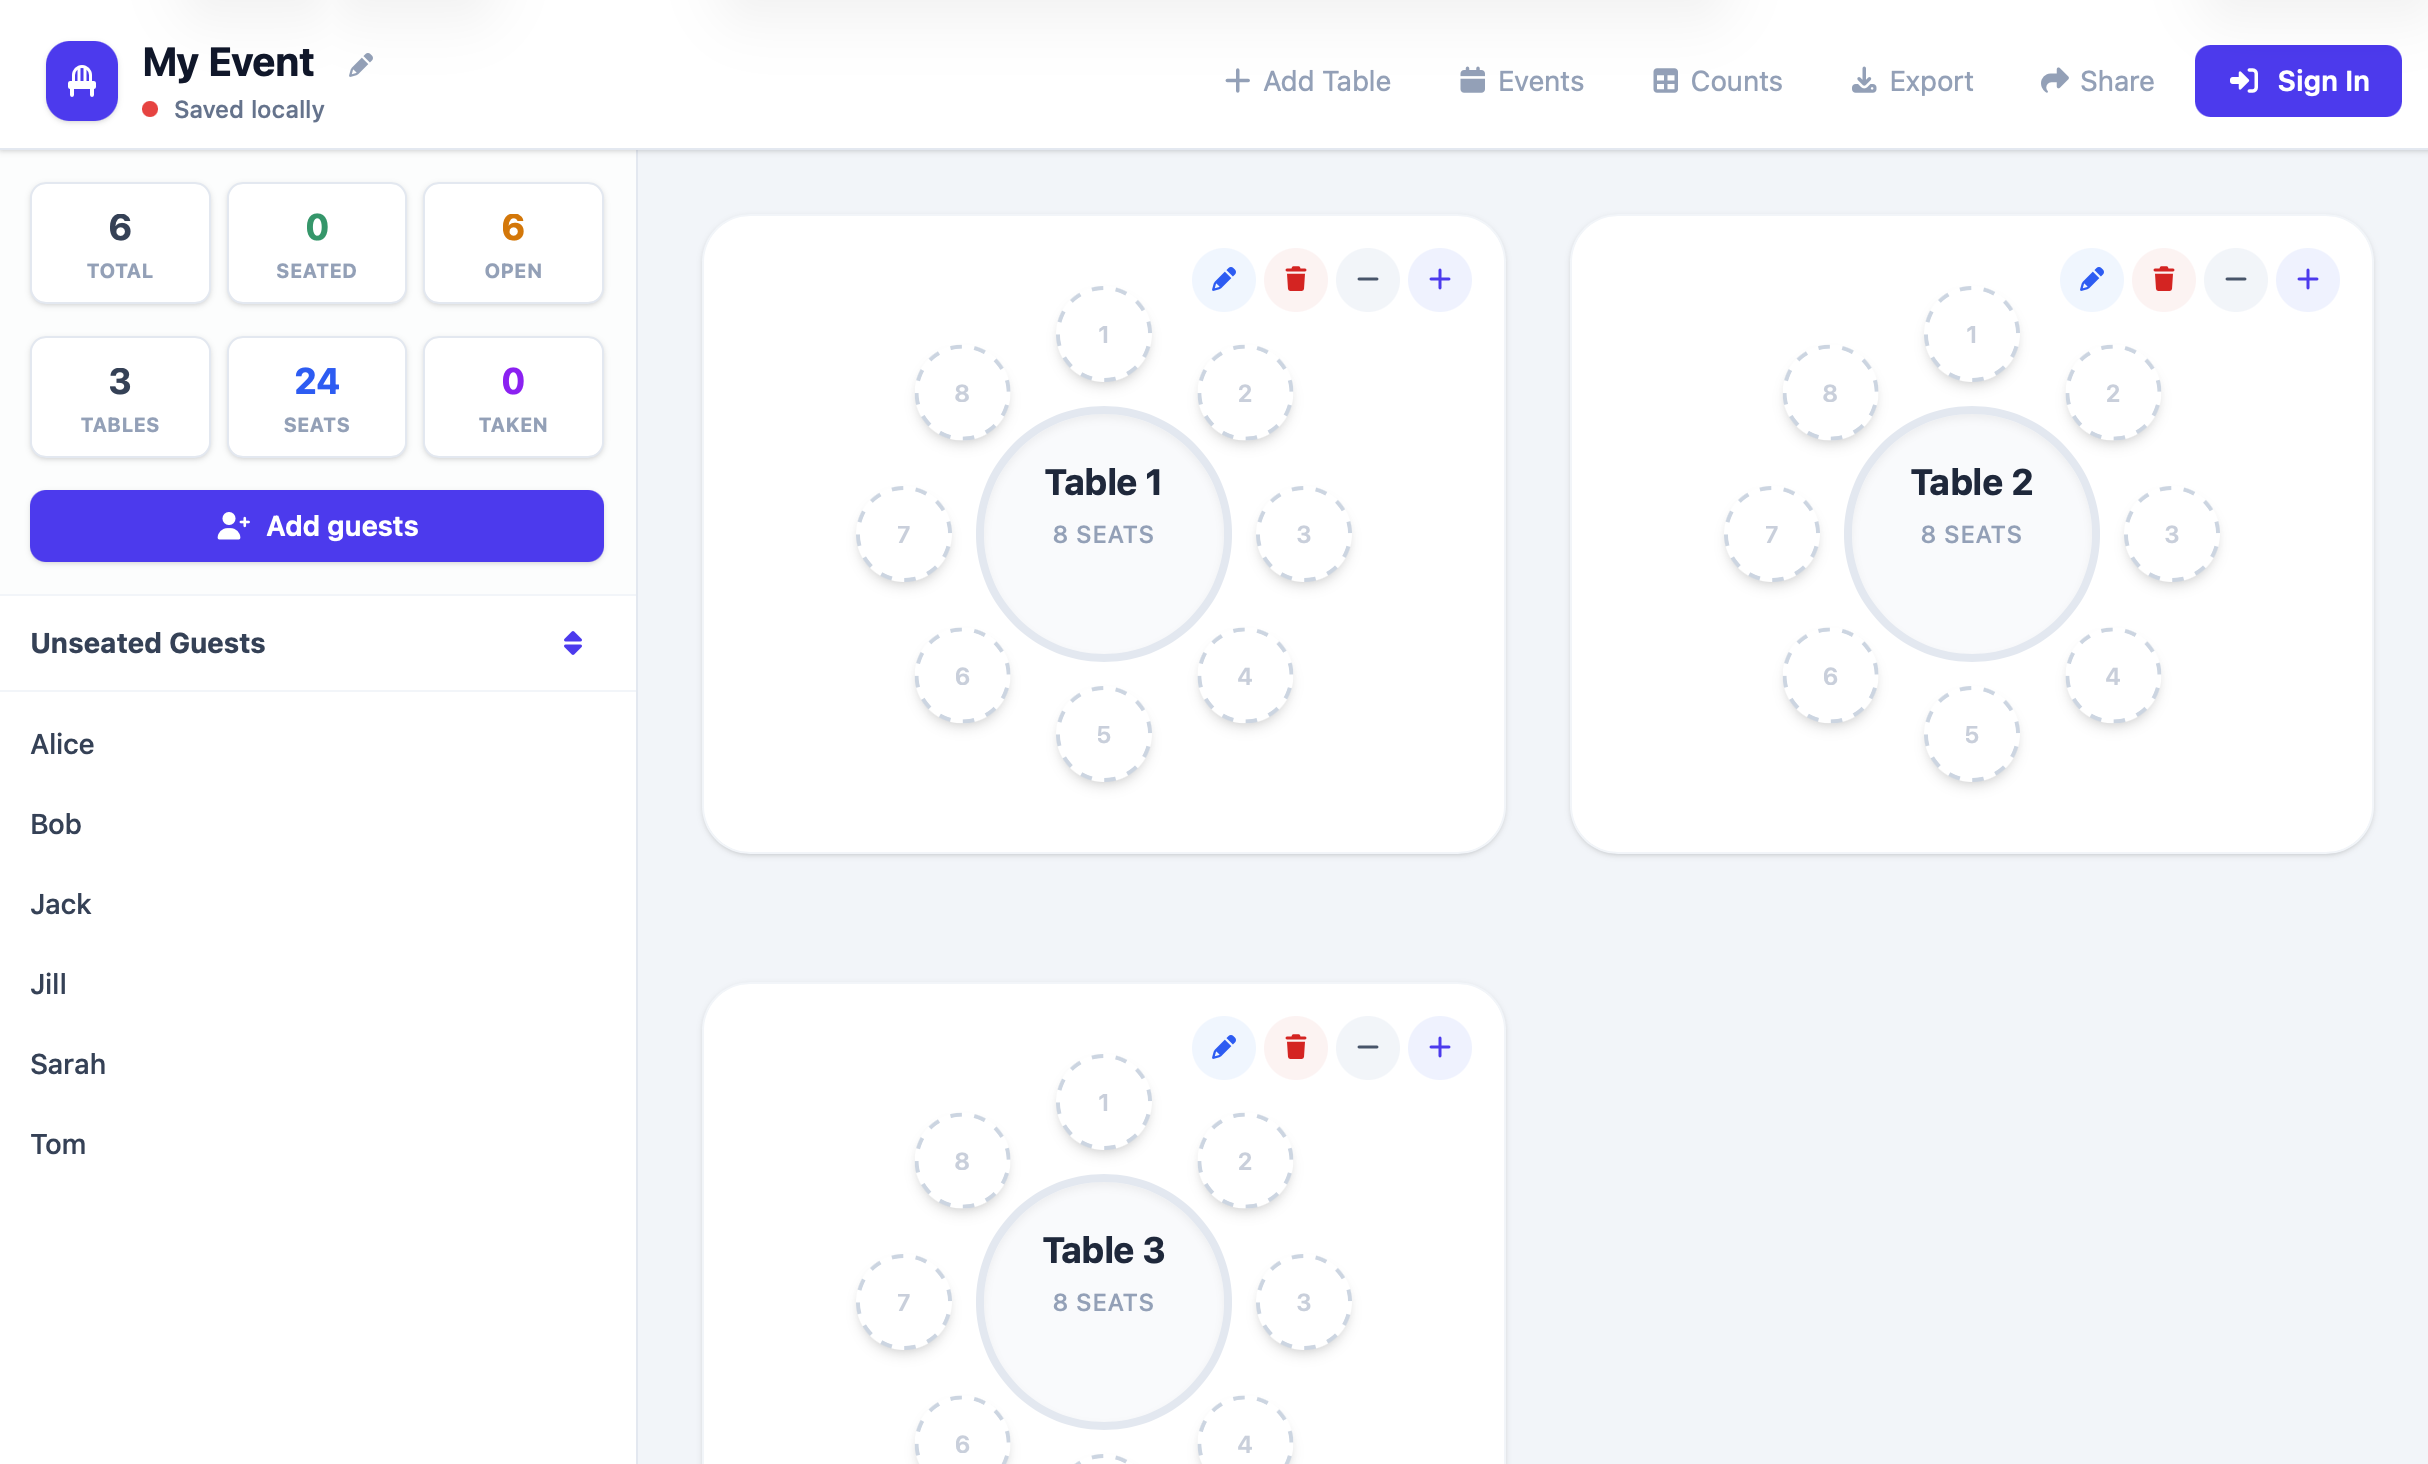
Usually you're drawing tables on a diagram or fighting a spreadsheet — one wrong move and you're fixing cell references. In Seat the Party, create your event (wedding name and date), then add your tables. Click Add Table, set the seat count, add a nickname if it helps — "Head Table", "Bridal Party", "Kids Table". The whole room is visible at a glance.
Step 4 — Import your guest list
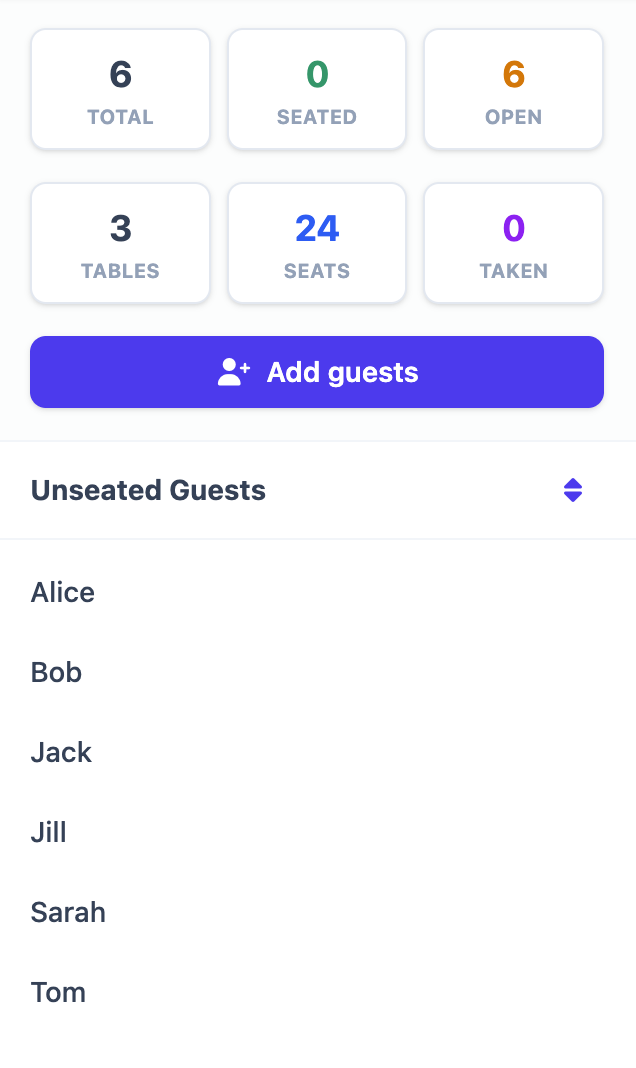
Usually you're retyping names from one place into another, or copying cells and hoping nothing breaks. We added a paste-import: copy your list (one name per line from a spreadsheet or doc) and drop it in. Everyone shows up in the Unseated Guests panel. As you drag people into seats, they drop off that list. When the panel's empty, everyone's seated.
Step 5 — Assign the easy seats first
Start with the no-brainers: the head table (you, your partner, whoever you're sitting with), immediate family near the front, and kids at a kids' table with easy access to exits and bathrooms.
Step 6 — Group the rest by connection
For everyone else: seat people with people they know and like. Work friends together, school friends together, extended family on each side at their own tables, couple friends with other couples in a similar stage. Solo guests or plus-ones who don't know anyone? Put them with your most outgoing group — people who'll make anyone feel welcome. If there are tensions — an ex, a difficult relative — keep them on opposite sides of the room, not just different tables. Distance matters more than you think.
Step 7 — Swap and adjust until it feels right
Your first draft won't be your last. Step back and look at each table: Does this group have anything in common? Will anyone feel out of place? Any tables all couples or all singles? Anyone too close to someone they have history with? Tweak until it feels right.
Step 8 — Share the plan with your venue
Usually you're emailing a PDF or printed sheet — and every time you change the chart, you're sending a new version. In Seat the Party you can share a live link or export a PDF whenever you're ready.
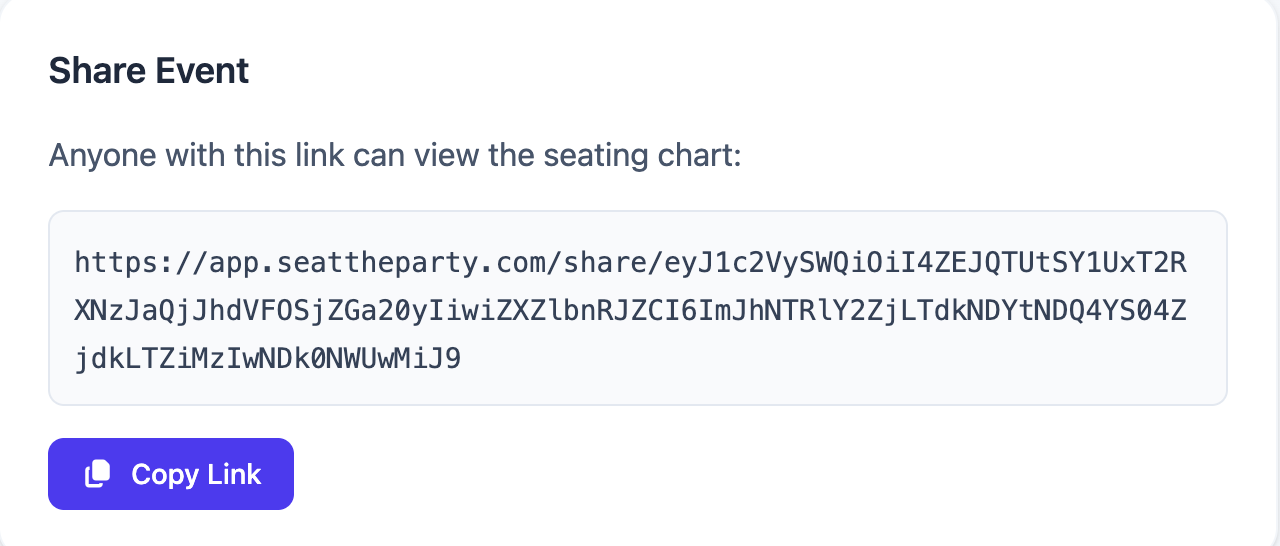
Share a live link
Use the Share button to get a shareable link. Anyone with the link can view your seating chart in a clean, read-only format — no account required. Great for your venue, your wedding planner, or family who want to check their seat.
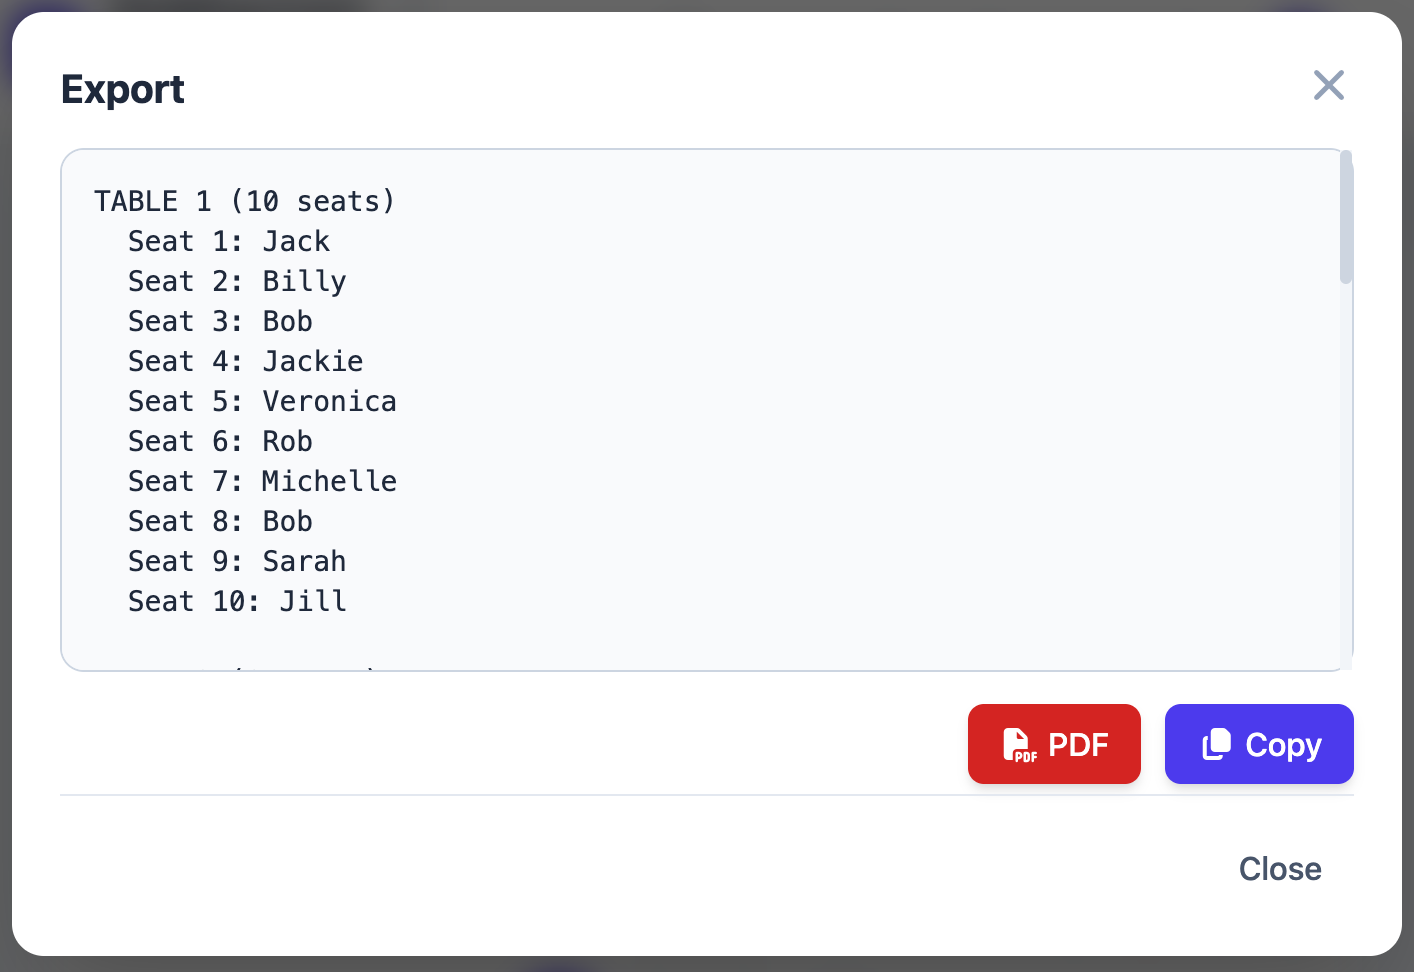
Download as PDF
For a printed backup, use Export → PDF. You get a formatted PDF that's ready to print — hand a copy to your venue coordinator on the day as a physical reference.
Step 9 — Last-minute changes (they're not a crisis)
Usually a late cancellation or a few extra yeses means redoing the chart, reprinting, or re-sending files. With Seat the Party, your plan is live until you say otherwise.
- Cancellations: Unseat the guest in the app. Leave the seat empty or consolidate two underfull tables — drag and drop.
- Late additions: Add them to the list, then drag them into a spare seat. If you've shared a link, the venue sees the update.
- No-shows on the day: Let your venue know which seats are likely empty so catering can adjust. Your chart is already up to date.
Common mistakes to avoid
Seating guests too far from the action
Every table should feel like a good seat. Guests notice if they're in a corner far from the dance floor or next to the kitchen. Put people you're less close to somewhere with good sightlines — not tucked away.
Trying to please everyone
You can't seat everyone exactly where they want to be. Make sensible, thoughtful choices and accept that a few people might prefer a different spot. As long as no one is genuinely miserable, you've done your job. Hope you have a great event — if we somehow made the process easier, feel free to reach out; we'd love to hear about it.